How To Run The bitcoin_fork_claimer Script From A Secure TAILS Temporary Live Boot Session

Introduction
Alright, here we go... we are going to run the script. You should have already set up your secure TAILS environment, set up the Proxychains utility and figured out your parameters for your script and possibly have them stored on an encrypted USB drive. If you haven't gone through all that yet, you probably need to backtrack and make sure you are ready for this.
This guide is specifically for using the proxychains utility to route your transaction broadcast traffic through Tor. If you are interested in more generic Linux use of the bitcoin_fork_claimer tool, the Ubuntu guide is what you should follow instead.
On TAILS, it has Python2.7 pre-installed. That is true for most other Linux systems. If you are using something other than TAILS, it is very likely that you already have a Python 2.7 environment ready to go, however we have an article to help you know for sure before you begin.
Download bitcoin_fork_claimer
The first step is to download the software from Github. In the article for setting up the temporary live boot session, we installed git, so it should be ready.
We must open the terminal application (also covered in the previous article) and type:
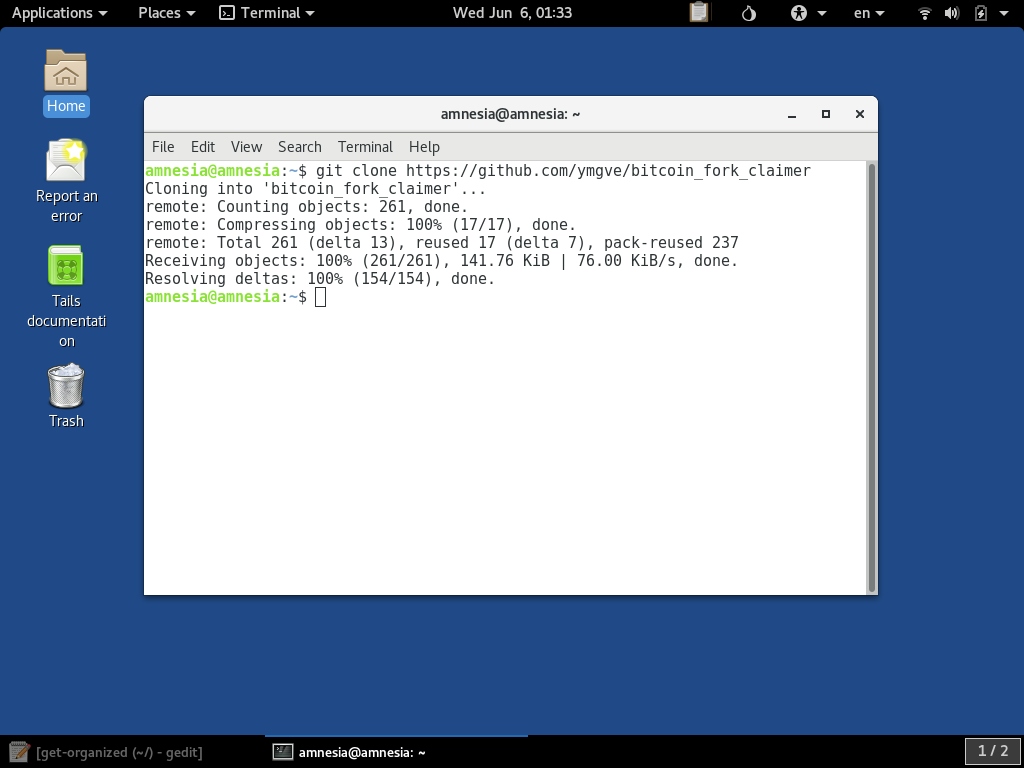
git clone https://github.com/ymgve/bitcoin_fork_claimer
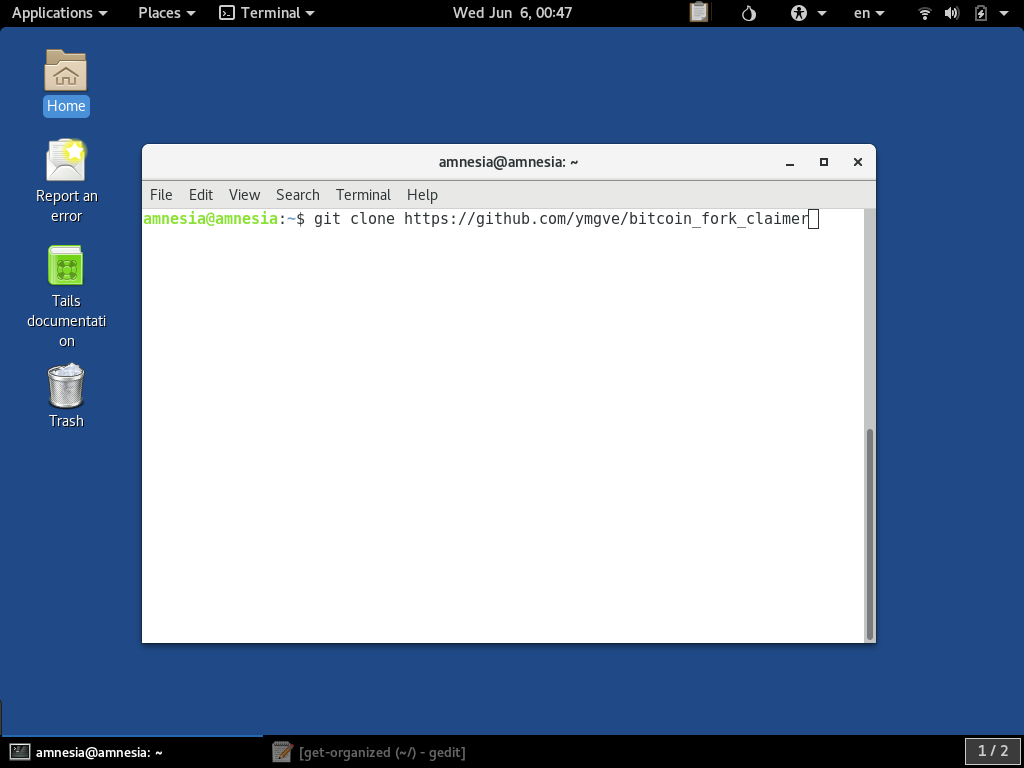
When we press Enter it should download the code repository and look like this:
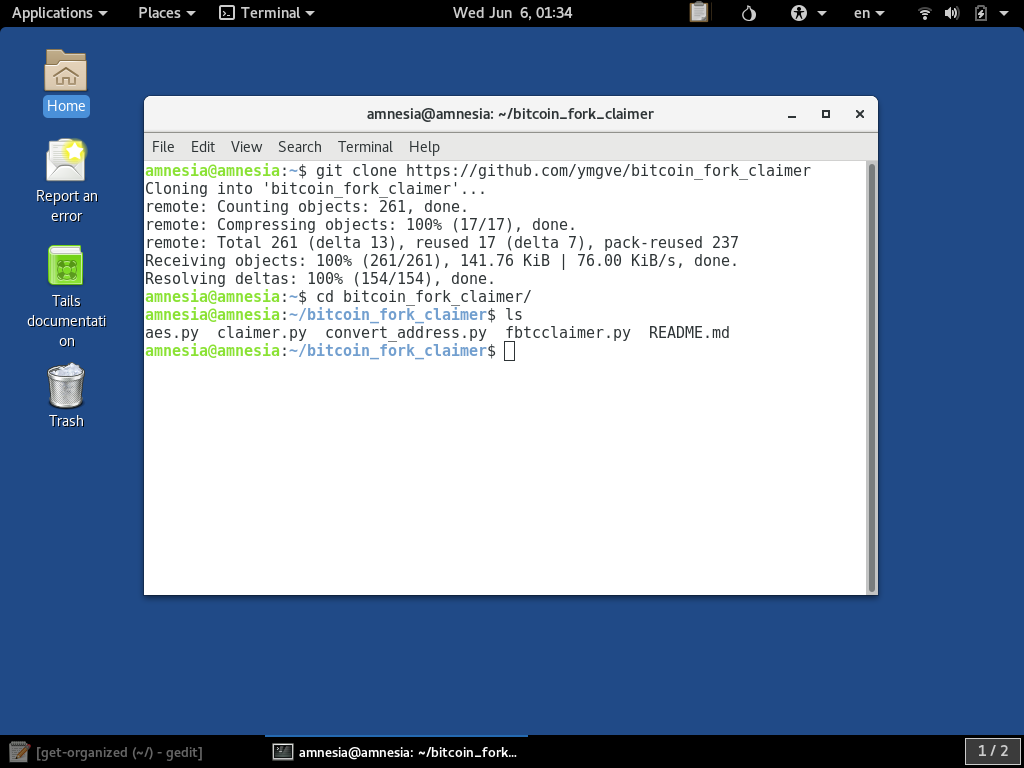
We can change directory into the newly-downloaded folder by entering the command:
cd bitcoin_fork_claimer
Then press Enter and list the files contained by entering:
ls
Then press Enter
To be sure we have obtained the right software the git log command can be used to view the head commit of the downloaded repo. This SHA1 id can be double-checked against the GitHub repository:
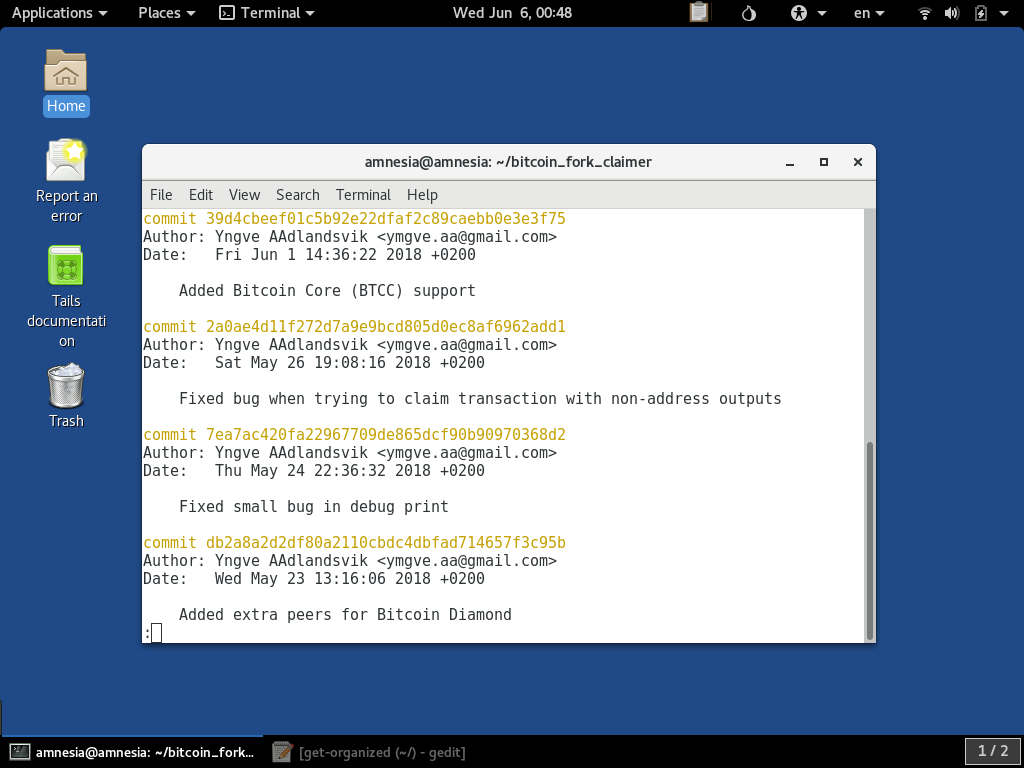
When finished looking at this the q key will exit the git log view.
typing the command:
cd ..
Then press Enter will get the terminal back to the user Home directory for running the command.
Run The Command
In the article for figuring out your paramenters we created a text file to gather them in in the order that they are needed to use the script. We can open that file now:
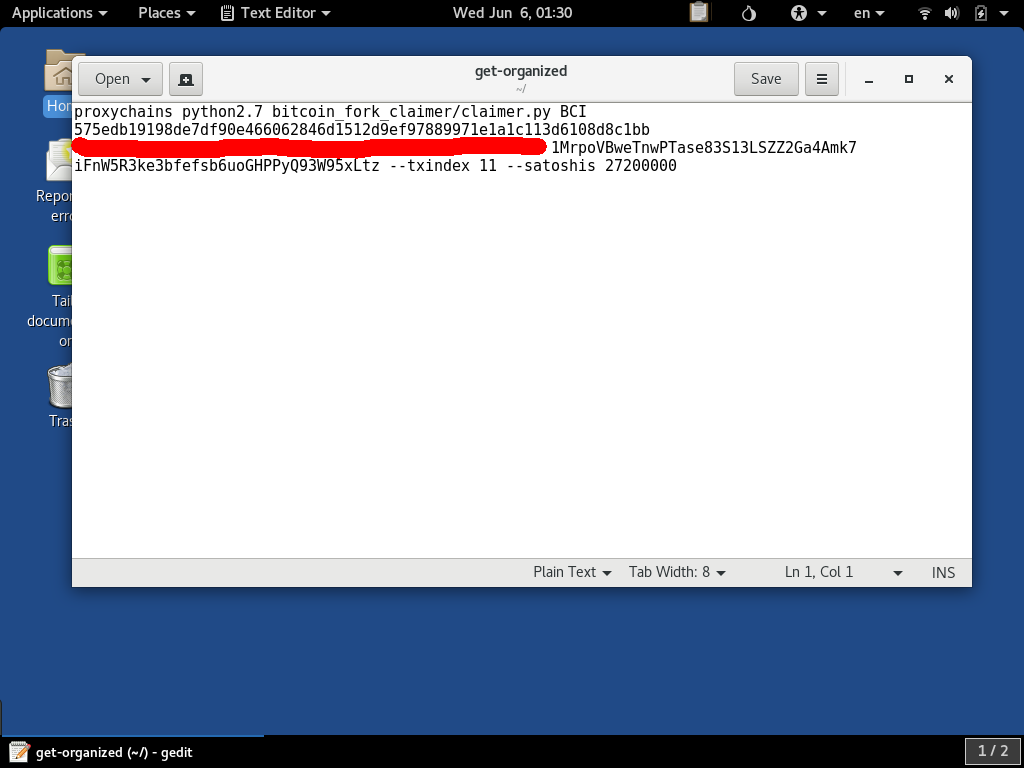
The lines should be made to start with proxychains, python2.7 and claimer.py as that is what is required to execute the script with the python2.7 environment. Now is also a very good time to double-check
that your parameters match what the Tool's instructions say. The interpretation of this document was also covered in an article here.
This command will not work unless you also add the proxychains command ahead of the python2.7 command
The line in the text should be without carriage return character, and the parameters separated by only a space. If we highlight the complete line from the text file and copy and paste it into the terminal it should look like this:
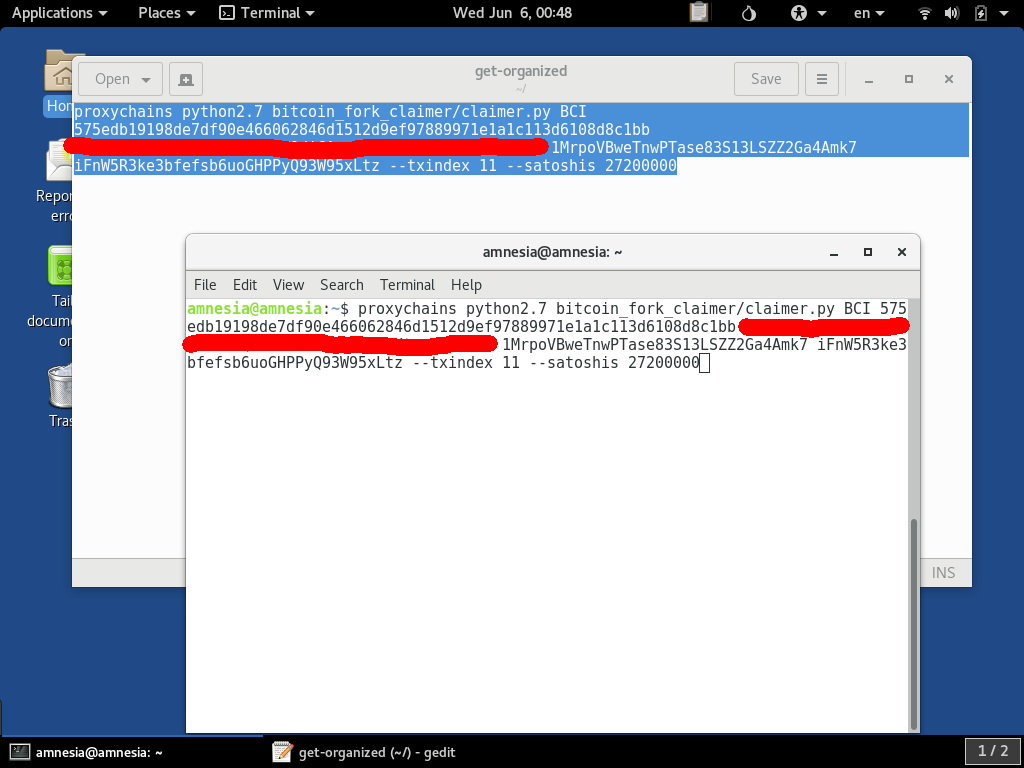
If your command looks correct, it is now time to press Enter to actually run the script.
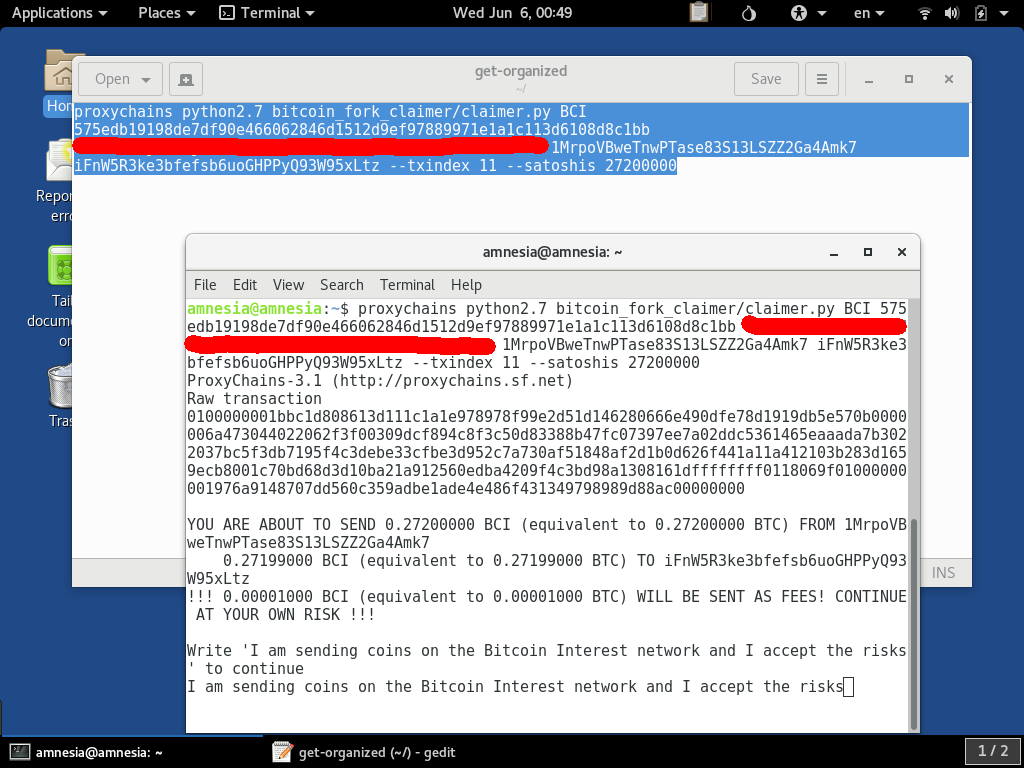
If the parameters are accepted, before broadcasting the transaction, the script stops you with a warning message. Since money can be lost for getting the parameters wrong and sending to the wrong address, this is just to re-enforce that you have to take full responsibility for what happens. You must type the full sentence exactly exactly as given:
Watch The Script Run
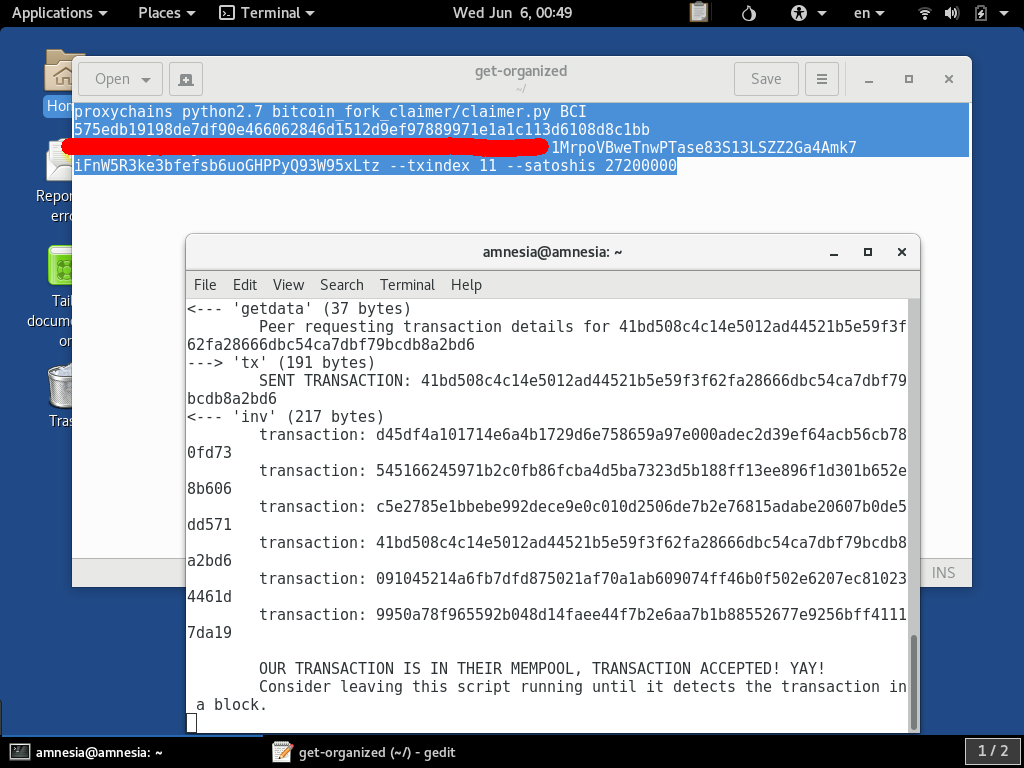
When you press Enter after typing the warning message, the transaction is created and broadcast to a node of the selected coin's network. For some coins, this may take several minutes and many rounds of retries to be successful. This is expected, so be patient before concluding that something is wrong. The claimer.py script waits for 100 retries for a reason.
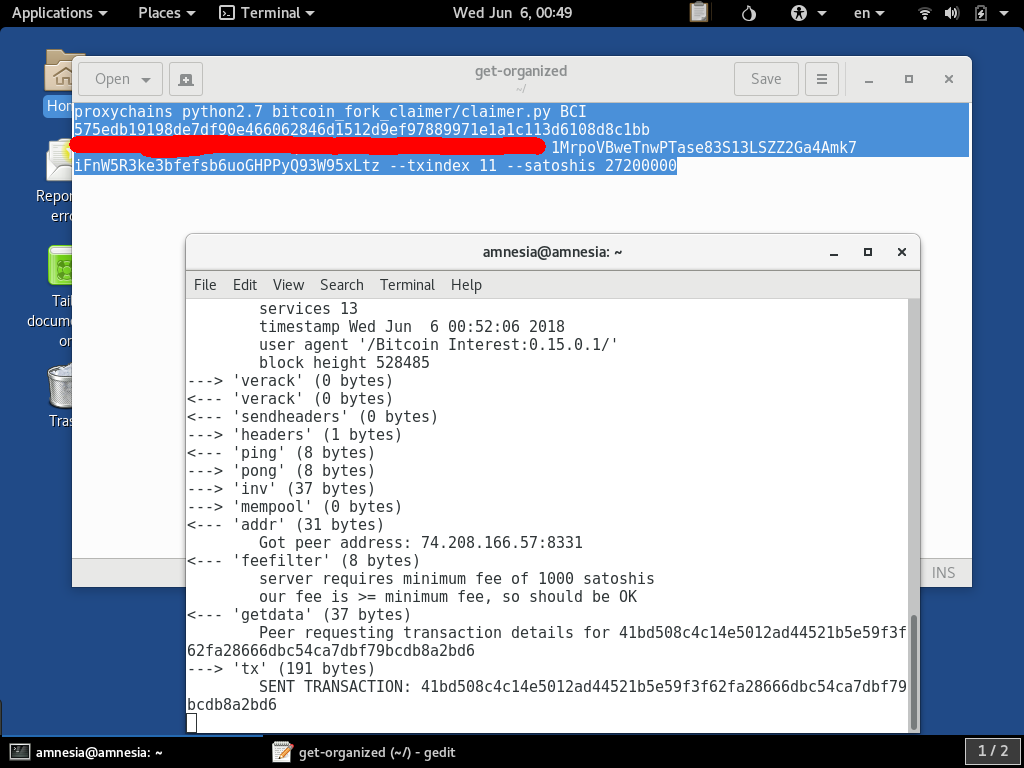
If something appears wrong in the messages it is giving you at this stage, it is possible that your parameters are wrong and the network is rejecting this transaction, though the script will keep trying. You can stop the script by pressing
Ctrl-C at any point. If it is successful you will see that it has seen the transaction enter the mempool of the coin:
As you probably know, blockchain confirmations can take a while. Most of these coins are on an approximately 10 minute block time just like Bitcoin. The script, if left alone will wait until it sees a confirmation of the transaction before exiting. If
you wish to not wait for that, you can press Ctrl-C to exit at another point, and it is perfectly fine to proceed on to creating more transactions. When it is done via waiting for a confirmation, it will look
like this:
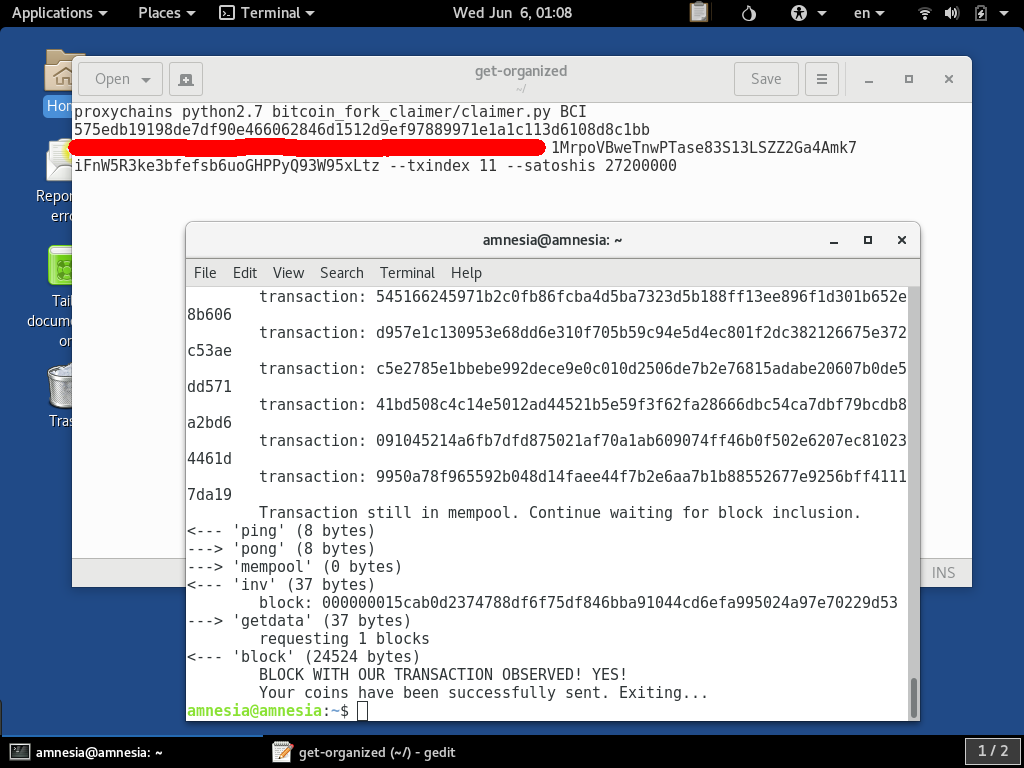
Most exchanges require some number of confirmations, usually 6 or more, before they credit you with a balance that you can begin trading with. Also, since your transaction is on the network, you can use a block explorer which best done via Tor Browser (conveniently built into TAILS) to check up on the address you sent it to.
Conclusion
Congratulations is in order. You have now gone where few bitcoiners have tread. Well done, good sir, xir, or madam, well done!
You can repeat these steps for all the coins that belong to this address and so-on. If it worked for you, don't forget to share this guide with your friends. Knowledge is power, and this kind of stuff is what makes Bitcoin Decentralized. Happy claiming!